Monday 30 May 2011

Part 3- Head Work

4/10/10     Went to Autobarn & ordered all the parts necessary to replace the head (gaskets, hoses, thermostat & housing, filters, oil, carbie gaskets, plugs, paint, WD40). I was very surprised when they rang that afternoon & had all the parts ready. A very prompt service! Over the weekend, I had been constantly spraying WD40 down the valve guides to try to free the stuck valves but no luck. They are really going to take a lot of effort to move.
6/10/10     Today was very frustrating as I spent the whole day trying to free up the stuck valves & removing the broken stud. Four valves came out very easily but the remainder were really stuck. I continually sprayed WD40 down the valve guides & eventually with a bit of physical persuasion, they became free. That took most of the morning. Then I spent most of the afternoon drilling out the broken intake manifold bolt. I broke about 5 drill bits & two stud removers in the process but after several hours, I had most of it removed. The thread still needs to be cleaned up & I hope it is not too damaged but I guess we can re-thread if the worst comes to the worst. Tomorrow the cleaning of the head & valves will continue.
                                                                                                     
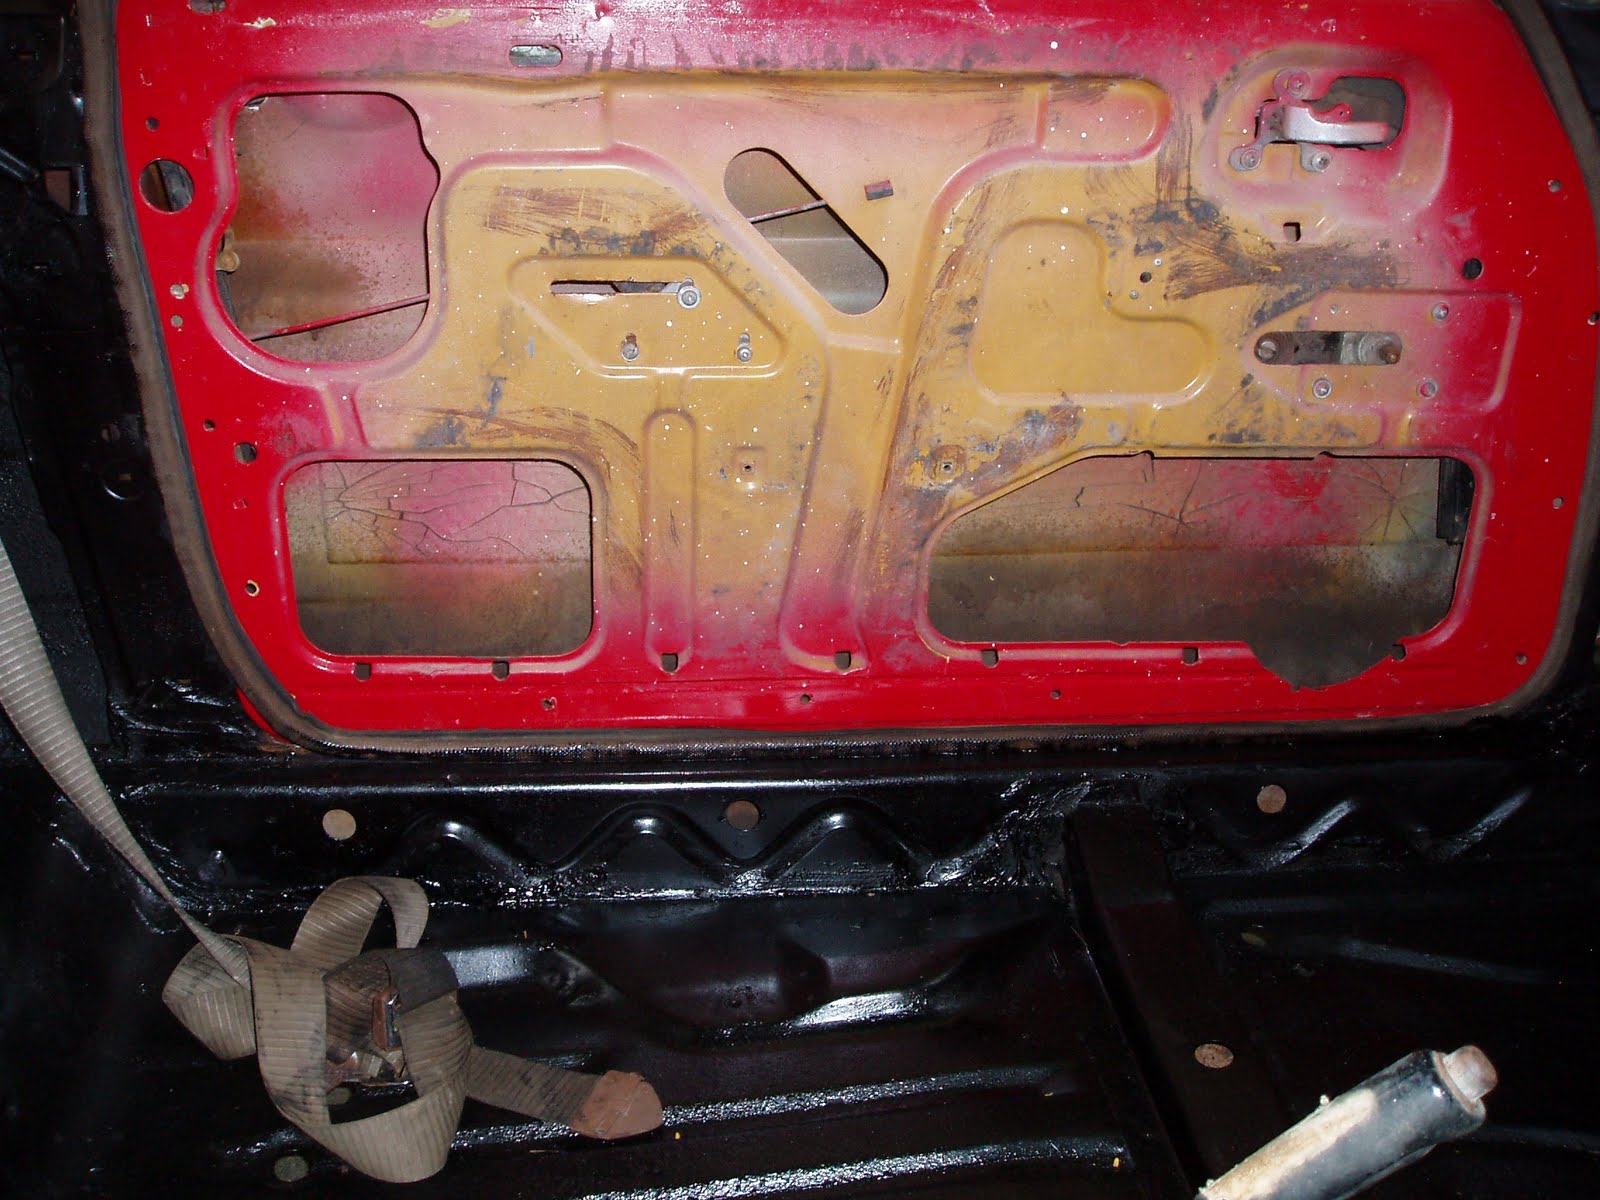
7/10/10     Continued to clean cylinder head & remove gaskets. Cleaned & wire brushed valves, starter motor, rocker arm, rocker cover, carbie, intake manifold, fuel pump, ignition leads.

8/10/10     Continued to reface valves & prepare to reassemble cylinder head. Re-threaded broken intake manifold bolt.
                                                                                                       
11/10/10   Refitted valve springs & collected spray can of Monza Red paint (Slacks Creek).
                Dissembled & cleaned the carbie. Fitted all new gaskets & needle & re-assembled. Finished cleaning intake manifold. Everything now ready to paint.

14/10/10   Removed radiator & fan & prepared the engine bay & battery tray for touch up painting. Spray painted all the engine parts. Refitted the cylinder head, valve guides, rocker arm & ensured valves are operating. Refitted exhaust manifold, fuel pump, starter motor & intake manifold.
                                                                                         
15/10/10    Completed fitting intake manifold & all bolts in starter motor. Adjusted the valve clearances & tried to turn motor over to ensure all parts are operating so far. No response. Tested all circuits & tests indicate current & ignition switch is operative. Possible that starter is faulty so it was removed & tested. Working fine. Purchased new battery. Plenty of action with new battery & everything turning over OK. In fact, there is a bit too much action & sparks were flying from the connection. I really think that there is an earthing problem but I will trace that further. Ignition does work & there is spark at the distributor. Cleaned out fuel lines & removed a fair bit of rubbish from engine end. Put several litres of fuel in tank to try & clean out lines. No fuel coming through so that is another task. Later on I noticed that the fuel tank was leaking all this watery black like petrol gunk through into the boot. Not good news but not surprising considering how long the car has been in storage. So that means the fuel tank will have to come out & repaired. Fitted oil filter & sump plug & then filled with oil. No obvious leaks so that is good news. Refitted radiator, hoses, thermostat, alternator, fan belt & filled radiator with water as I really wanted to fire the beast up. I seemed to keep adding water to the radiator & was hearing water leaking out & then noticed water pouring out of the rear welch plug so that was it. No fuel, no water – no go!! Very disappointing!!! Also noticed a small leak under intake manifold where bold was stripped so that will also have to come off again. So a little frustrating but I guess that goes with this type of job.


Sunday 29 May 2011

Part 4 - More Engine Bits

18/10/10    Removed fuel tank & flushed many times to try & remove rust. Lots of rubbish came out. There are several holes along the bottom seam of the tank but I think it can be repaired by soldering. Removed intake manifold to repair stripped tread stud under water jacket. Removed exhaust manifold to replace two welsh plugs. Managed to remove both plugs without too many dramas as they were very rusty & the bottom of the engine block was full of rust & gunk. Tapped solenoid & it doesn’t seem to be arcing and no shorts obvious when connecting battery. Off to see if I can get two plugs & a helicoil to replace the thread.
                The welch plugs were easily obtained at Autobarn & also a thread repair device – a bit expensive though!  Bottom of one of the block holes is a bit suspect but I cleaned them up as best I could with the wire brush on the drill. Very difficult to insert the plugs as the room is restricted to get the hammer onto the plugs. Both went in OK & also inserted helicoil into cylinder head.

20/10/10    I tested it with water in the block & one plug has a very slight leak so it will have to be replaced. Bought another plug & because of the weather went back to repairing the fuel tank. When cleaning this with the wire brush many more rust spots became obvious but all in the same general area at the bottom of the tank. I cut a metal patch out & used an epoxy glue to stick that down & then I will solder around the perimeter of the patch. Hope that works!
                Put in the welsh plug & applied a liberal dose of gasket cement & then refitted intake manifold. Checked for leaks & success with welsh plugs & intake manifold but still a slight drip from bottom of front of engine. Tightened bottom radiator hose but, on closer inspection from under the car, the water is coming from the front of the water pump. What a bugger!! I suppose again that this is not surprising considering the time the car has been sitting. But that means taking the radiator out & a new water pump. Surely that must be it!!!
                I continued to repair the fuel tank but it will have to get a better cover with the solder.

21/10/10   Removed the radiator & water pump. It came off with no dramas which was surprising. The inside of the pump was badly corroded. Cleaned up gaskets & resprayed area. Ordered parts.

22/10/10    Collected parts & refitted exhaust manifold & new water pump. Lot of difficulty fitting fan belt pulley & fan as the threads on the water pump spindle were of a different size. Had to buy a new set of bolts & finally had everything lining up. Refitted radiator & hoses & filled with water. Finally, no water leaks which was very pleasing. I was a bit concerned as the water pump pulley did not seem to be aligning up exactly with the alternator pulley. It seemed to be 5-7mm out. Fitted spark plugs & ignition leads. I wanted to have a go at firing the beast so some fuel went in the carbie & everything was turning OK but no go. Checked points & it seems that they have melted at some stage so that is where the problem is but not enough time today but getting very close to the magic moment!

2/11/10     After a week away, I fitted the new contact points & sorted out the plug leads. I had also done some internet searching and found that there are two water pumps listed in some parts catalogues for this engine. So, it looks like I landed the incorrect one! Took out the radiator again & removed the water pump in readiness for fitting of correct one. (Reordered WP181 through Autobarn as two pumps, WP181 & WP730 are listed for the 1600 engine & this is why I had so much trouble fitting the fan belt pulley). I will compensate for this error but no one really is at fault – Autobarn provided the correct one at the same price as there was a reasonable price difference. Connected fuel pipe from pump to carbie & vacuum leads from brake booster to carbie. Not sure how to connect main fuel line to pump & leave the original fitting. Tried to connect throttle cable but a bracket off the rocker cover is missing so either I will have to find one or make one. Also have to fit cable to accelerator pedal behind dashboard.

3/11/10      Checked new water pump for fitting & found that the bolts required to fix fan & pulley were metric thread so I had to make another trip to Repco. Fitted water pump & this one aligns properly & no water leaks so that is good. Had a go at starting but no spark. I found that the lead to the coil was loose & with some adjustment to the contact points, then there was spark at the points. Had another go to turn over motor but no go – what a bugger! Turned my attention to the fuel tank & spent about an hour soldering on a patch to the bottom & I though it looked OK. Put a bit of fuel in it & started leaking everywhere but not from the patch but from a hole on the other side of the tank. On closer inspection, there were rust spots everywhere & with a prod from the screw driver, holes were everywhere. So, in short, the tank is RS. I think I will have to try & source another one which may be difficult. (I was able to locate one that night from another club member so hopefully it is OK.) That is the good thing about being in a club & having some good club members. When packing up for the day, I noticed that the rotor from the distributor was not where it should be so I put it back in properly, poured in a bit of fuel & whamo – a bit of life appeared for approx 1 sec. Tried again but starter motor would not engage so another set back but at least, the engine is very close to firing.


Saturday 28 May 2011

Part 5 The Wiring Puzzle

4/11/10     A very wet day so I collected the dash section that had been repaired at Jobsons & visited AY to discuss several matters & check out what parts were available for the next stage.

5/11/10     I spent most of the time today trying to figure out the wiring & what was connected to what. The car had been rewired but not completely & came with no instructions. Firstly, I had to remove the interior fuse panel (not original!) which was badly rusted & give it all a good clean. The fuses were badly corroded. Cannot work a few things out as it appears that the column stalk that is not original (from a Falcon) has some wires connected & some not. The fixture of the stalk is not stable so I will have to figure out a way to keep it in place. I think the washer pump is linked to the second stage of the fan motor. The wipers are linked to the left hand stalk. The indicators to the left hand side but I still cannot really understand where the lights are linked to. After putting in some new fuses, I will try to sort this out further. The wiring to the horn goes up through the steering wheel which is not correct so some alternative horn button will be necessary. I will have to take off the steering wheel to replace the rear section of the steering wheel & make something to conceal the front section of the indicator stalk.
                                                                                                   
9/11/10     I spent most of the time today trying to sort out the wiring & dashboard. The ignition works, voltmeter works, fan makes a noise on RHD & I think LHD on the switch near the heater controls is for the washers. Front lights & spotlights work form second switch on dash. Ignition light works. After a lot of stuffing around & a set of new fuses in the inside panel, by earthing the bottom right hand fuse, all the controls located on the steering column work i.e. indicators, front & rear, & both sides are OK; wiper motor works but spindle needs to be pulled right up through the bonnet fixture. I also found the speedo cable. The driver’s side door handle now also works due to heaps of WD40 & it seems that the ignition key will lock this door & the boot.

11/11/10   Removed the starter motor & it seems OK & I am not sure why it is not engaging. It may be the spring mechanism so I will try & sort that out. Fitted AY’s fuel sender seal into the tank I got from AJ. It all looks OK & no leaks obvious now after the seal has been fitted. Spot painted the rust spots & then resprayed the whole tank black. Attempted to fit the throttle cable but (a) spring is missing (b) bracket onto rocker cover is missing (c) hole through firewall is gigantic & (d) can’t undo inspection plate to refit end of cable onto accelerator pedal. Very frustrating & I will have to make a bracket. Not a great deal of progress!!
                                                                                                            
15/11/10   Some progress was made today. Refitted the fuel tank & that took considerable time due to connecting up all the vent hoses, the filler hose & then the fuel line & that took a midget’s hand to be able to connect it. Finally got that connected & then used the brass joiner to connect the fuel line to the fuel pump. Put in a few litres of fuel & had a dribble through but I think it needs a few more litres to really get it going.  Tried again to fit the throttle cable & lying upside down under the dash is not my favourite place. I have come to the conclusion that the cable is not correct as the end that fits through the pedal does not have the usual round end so that the attaching clip can fit over. Fitted new spring & bracket to rocker cover. Refitted starter motor & goes OK but needs a whack to get it to engage. I will get more fuel tomorrow & then really try to get this motor going.

16/11/10   At last some success! I actually had the motor going. With a few more litres of fuel the fuel flowed pretty well & with a bit of cranking it was through the filter & into the carbie. Then had a bit of backfiring & found that I had the rotor around the wrong way! After a bit of fiddling, I had it running reasonably OK – no strange noises & then it stopped. I discovered the coil was super hot so I need to replace that with a spare one I have & will try again tomorrow.

17/11/10    A mainly wasted & frustrating day. I cannot work out the issue with the coil. I had my technical expert, KH, help me out & he suggested that the engine wasn’t earthed properly as there was no earth wire from the engine to the body. I added an earth wire to the firewall & then tried but no difference as the coil was still getting super hot. Tired several coils, including a new one off my other Capri & same thing happened suggesting it is not the coil but a short circuit some where in the distributor. The starter motor is also playing up so that doesn’t help. So, no real progress until we sort out this electrical problem.
                                                                                                           
18/11/10   Checked spark from the coil to distributor but points not opening & the new set had started to get very hot. Points are also not opening & so obviously causing everything to short. KH rebuilt the distributor, cleaned & reset points. Everything looks OK & the points are opening correctly. Battery charged.

                                    
20/11/10   Took out starter motor again. Re-oiled spindle & refitted. Turned key & the engine fired up straight away & ran for a short time sounding pretty good. Then it stopped. Went briefly again a number of times & then stopped. Checked fuel & fuel pump & that is OK. Checked points & again they are burnt & not opening properly with the coil warm again. So there still is a problem which may involve three things – either the earthing is still insufficient, a missing resistor to the coil or a faulty condenser. Hopefully the fix is close as it is very nearly there!


Friday 27 May 2011

Part 6 - The Engine Runs!

22/11/10    A very good morning as the motor is running & not too badly either. That is very pleasing. With some modifications I have the electrical system sorted. Another earth wire was fitted to the body, a ballast resistor was installed in series with the coil & a new condenser was fitted to the distributor. It went first time. Checked with vacuum gauge & timing & everything else seems good. No leaks, temp gauge is working, volt gauge is working, & also, I think the petrol gauge. Things are starting to look up!

23/11/10   Engine going well but I need to get another throttle cable as the end of the one I have is not correct. Spent some time today working on the brake lines. The front LHS was not connected & could not be joined due to a corroded thread. I had a spare one which enabled it all to be joined together. Loosened brake bleed screws so fluid can be released. Back RHS line also not connected & needs a holding screw so that it can be connected. Back linings look really good. I also found the hand brake cable hooked up under the car so I will attempt to connect that up next.
                                                                      
24/11/10   Connected rear brake line & that was very slow due to the corroded threads. Tried to loosen LHR brake bleeder screw but after lots of WD40 it still won’t move. I need to be very careful with this one as I don’t want to snap it as has happened before on my cars. Tried several times but still no go. Connected hand brake cable & that is working. Put some brake fluid in the master cylinder to flush through the system but no fluid coming out at any wheel cylinders. After trying at several connecting points there is no fluid coming from the master cylinder so I disconnected the lines from the cylinder but nothing. No options but to remove master cylinder. When it was removed it was very rusty & the piston is seized in a very rusty cylinder bore. I needed to be very careful as the plastic reservoir is very fragile.

1/12/10     Cleaned cables, choke, bonnet, master cylinder parts, interior panels, badges etc. Will need to get an exchange master cylinder as the three I borrowed from AJ were not as good as the one I had. I am trying to work out the oil pressure gauge & tachometer so that I can fit the dash back & get on with the interior. Took the master cylinder to Master Cylinder Exchange at Wynnum.
                                                                                                           
2/12/10     Purchased tube & connectors to fix the oil pressure gauge. After a bit of fiddling, this went together OK & actually works. Tried to sort out choke cable & where to put it. It needs some special type of panel. Started to connect bonnet release cable. Removed old one & fitted new handle. Cannot connect at bonnet end & I may have to remove the grill to get at it. Nothing is ever easy! Still need to connect tachometer & then everything will be working. Master cylinder is ready to be picked up.                   
                                    
4/12/10     Cleaned & then painted interior trims & panels eg. back side trims, centre console & window metal trims.                           
                                                                                                    
6/12/10     I fabricated a panel to include the choke, horn & ignition switch. Refitted brake master cylinder & tried to bleed the brakes but no fluid is coming out of any bleed screws. Brake bleed screws were clogged so they were cleaned out. Cleaned out front brake joining box & fluid now flowing to that point. Fixed up the bonnet cable & now that is working but the bonnet is not quite catching.
                                                                                                           
7/12/10     Bought new brake fluid & partly filled the master cylinder but still no fluid running through to the front discs. Finally managed to loosen rear bleeder screw but no fluid there either. Only conclusion is that brake lines are clogged so I will have to undo them in stages & clean them out. Refitted dash after connecting speedo cable & so the only thing that is still not working is the tacho. The car actually moved under its own power today so that is a bit of an achievement. However, the not so good news is that I think there is a major air leak in the brake booster as the moment you push the brake pedal in with the engine running, the engine nearly stalls.

8/12/10     I moved the car again today. Jacked up rear of car & then ran it through all the gears & it seems OK with no strange noises. All gears, including reverse can be selected. The exhaust pipe is vibrating on the rear panel & needs repositioning. Cleaned roof ready for replacing the hood lining. It is a bit puzzling as to where the hood rods go. I redid the panels for the fuses & ignition switch so that it gives more room for the front tray & is more stable. This took quite a while to figure out how & where to fix it under the dash.
                                                                   
13/12/10   Refitted ignition switch, fitted horn button & choke cable – after numerous times to thread it through. I am really being held up by the vinyl hood lining which I bought over EBay a week ago. I bought the plastic grommets for the hood rods to go into & sorted out where they go but really need the vinyl. Started to disconnect the front brake lines to find out how far the fluid is going. Undid both front lines, blew them out & repainted them. I cannot undo the RHS lines from the guard to the disc & I don’t want to snap any of the lines so I will continue with the WD40.

Part 7 - Some Brakes At Last!

14/12/10   Refitted both front brake lines. Undid hoses from the engine bay to discs & blew them clean. Blew out from disc to bleeder screw on both sides & the complete line now seems OK on both sides. I put in a little brake fluid & left bleeder screws off & blew a lot of fluid out of RH disc but none from LHS. Have not even started on back lines. Started car (still having trouble with the starter motor) & brake pedal quite firm. Moved car & some brakes, probably one out of four working. Brake booster doesn't seem as bad. Then the brake pedal went straight to the floor as if another wheel got some fluid. Will keep at it tomorrow. Still no hood lining.

15/12/10   I tried to shift the car but the front brakes are locked. Bled the system but still the wheels are really difficult to turn. I suspect the pistons in the disc callipers are seized up as was the master cylinder. I can’t even start the engine as the starter motor will not engage so out it came for about the tenth time. I also bolted up the front guards to the undertray. Started to screw RH guard but the fit is not quite right yet.

16/12/10   Refitted the starter motor after oiling it up but it engaged once & then it was back to its old ways. I will have to get this fixed! I took off the front brake callipers so I could move the car. RH side was not on very tight. Both came off without too many hassles but will have to check with AY about getting them reconditioned. Hood lining came today but I am not sure I will have the time next week to do it.

29/12/10   I worked on the car for the first time in many days due to Christmas & the weather. I am still trying to sort out the starter motor. Checked voltage across all points & that seems OK. Battery is fully charged & the battery charger is on. The starter turns quite freely but does not engage. Finally removed SM again & found that the bendix drive was jammed & not releasing. Did some more cleaning up & filing off various bits & re-oiling and it is moving freely on the shaft. Fitted it again & it went first time but not second but with a tap it went again. I was actually able to shift the car & turn it around in the top of my yard & that is a first.

30/12/10   Cleaned up interior so that roof lining can go in. Spent considerable time trying to sort out window in driver’s door which keeps on falling off its tracks. One track is damaged & I tried to straighten it but I still can’t get it back in the tracks correctly. Will try again tomorrow as it is not the easiest task to do.

31/12/10   With the help of KH, we assembled the roof lining & clamped it to the body so it can settle for a few days & reduce the creases. It fits OK & is starting to look good & we should be able to glue it down next week.  We also again tried to fix the window & after several unsuccessful attempts discovered that the window had not been attached to the track in the correct place. It was about 30cms short on one end & this was enabling one slide to come out. That meant trying to separate the glass from the metal track, both of which had had a liberal amount of Araldite applied. I finally got the two apart after using the hot knife trick but that was enough for today.

3/1/11      KH & I completed the roof lining. Started at the FR side gluing down & then worked back & forth section by section. It looks pretty good & just the section around the parcel tray need completing once the rear widow is in. Just takes time working back & sideways to get all the creases out. I am not sure that I would want to do it everyday, though!

4/1/11      I took the front brakes to All Brake & Clutch at Rocklea for repair. Bought rubber strip for driver’s window & a clip for the throttle cable.

5/1/11      Still having starter motor problems - won’t engage & consequently can’t move the car very much to work on it. Hooked up jumper leads & tested voltage across all points which seemed OK but still not engaging. Took it our again & drive shaft seems to be caught again. Took it to HP Auto Electrics who suggested I take it to ESP Cargo at Salisbury who specialise in old starter motors. Fitted G clip to throttle cable but the pedal is still not returning properly. Cleaned & sprayed area in front of & back of instrument panel. Fitted wire to missing tachometer terminal. Cleaned & sprayed back of steering wheel & screwed it back together. Tried to align exhaust pipe but it is still not correct.
                Collected front brakes but more expensive than originally suggested due to the fact that the callipers were different. One is a Capri & the other of unknown origin having different & more expensive pistons. Apparently they are of very similar size & will do the same job.
                                  
8/1/11      I haven’t been able to really work on the car due to the terrible weather but there were a few non raining hours this morning. Refitted SM with new drive & guess what? Away it went & after quite a few trials, the SM seems to be working well. It was good to get the car going again so that I could shift it slightly to work on it. In doing that however, the gear stick came out in my hand & it seems that the notoriously common problem of the nylon ball has struck here. I can still stick the lever in & change gear in a manner of speaking.
                While the weather held out, I refitted the front brakes, bled both front lines & at last we have some front brakes & the brake pedal is getting some feel to it. The weather started to look bad again & just as I had cleaned up & covered the car, down came the rain again, so that was it unfortunately.


Thursday 26 May 2011

Part 8 - More Brakes & Windscreens

20/1/11    Visited AY’s house & collected various pieces eg. rear windscreen, rubbers, door sills, letters etc. Discussed cost of windscreen. (Economy Windscreens – new front fitted for $220 & $100 to fit rear). Visited Rubber Shop at Enoggera for rear window rubber, locking strip, door rubbers & clips. Received gear stick via Ebay & this was a very quick process.

21/1/11    I spent this morning cleaning the front windscreen rubber which is in pretty good condition & then also cleaned the back windscreen. Getting the original stickers & gunk off is taking forever & there are still two more to come off.

24/1/11    Tried to fit the new gear lever & after a great deal of trouble was able to get the old plastic insert out. After trying the new one for quite a while, I found that the new one had a nylon insert which was slightly larger than the old insert, so, no go. Not sure what to do about this other than try to get the new one re-threaded. I found out in the process that there are four different sizes for these inserts & the new one is 2 mm larger in diameter than the old one. Fitted the heater hoses & no leaks so far. Refitted another spring to the throttle cable & now working well. The choke cable still is not quite right.

14/2/11     At last I am able to get back & spend some time on the car.
1.      Worked on the back brakes as the fluid is still not getting to the rear cylinders. All the lines to the rear cylinders are really tight & I am really concerned that they could break when I try to undo them. I have sprayed WD40 on them all day with little success. Finally, I undid the main line where it links into the rubber hose over the back axle. Plenty of fluid coming out of the main line to here so that is a good sign. I found that this rubber hose was completely blocked. A new one is not easily available so I had to go to Brake & Clutch at Rocklea who are having one made up.
2.    I finally got the two rubber rings on the exhaust pipe at the rear but it is still not aligned properly.
3.      Fitted window winder assembly & window back into driver’s door. After all the hassles & reseating the glass in the tracks, it is working well so that is pleasing.
4.      Heater is not leaking inside the cabin so that is also a good sign.

15/2/11    Both the doors are now really ready for the panels to be put on but the inner felts are missing so I will have to see if Anthony has them. Cleaned front kick panels & now have two good ones. Cleaned & painted heater controls & also LHS vent.


16/2/11    I refitted the heater controls under the dashboard. Tracked down the loose wire from fan heater-an earth wire, & it screwed onto the back of the heater. Fan heater is now working. Remade & fitted bracket for throttle cable. Finally tracked down why wipers & indicators were not working. This has taken me many hours. The fuse holder (bottom right) seems to have some contact problems when the fuse is pushed back. When it is repositioned a little forward, everything works fine. We now have wipers, hazard lights & indicators working off the non original steering control stalk. Finally all these are sorted.

17/2/11     The windscreens finally went in today & fortunately it didn’t rain when the guys came. The front is new & tinted (from China) with the old rubber & the back has the old screen with the new rubber. I still need to put the chrome locking strip on but it is starting to look a bit respectable.

19/2/11     Picked up the new brake hose from Rocklea yesterday & spent today on the brakes. Fitted the new hose & then tried to get fluid into the back cylinders. After a few pumps it came through well. Bled the rear brake system & no leaks, so far, in the rear cylinders which is really good. Finally some good pressure in the pedal. However, when starting the engine & using the pedal, the motor stops due to a vacuum leak in the brake booster, something I have mentioned before. So nothing but to remove the brake booster which is a terrible job. This took for ages to get the four bolts undone which are right up under the dashboard. Worst job I have had to do so far!

Wednesday 25 May 2011

Part 9 - Fitting out the interior

22/2/11     I had two old brake boosters from AJ tested at All Brake & one is apparently OK, which is fortunate. Collected numerous bits & pieces from AY’s place today.  Spent this afternoon, cleaning, painting & fitting the OK brake booster. Fitted a new O ring & then had the difficult job redoing the nuts right up the top of the firewall. Finally got it all back together & connected master cylinder & I hope it all goes well tomorrow.
                                    
23/2/11     A rather long & frustrating day again. Firstly, I checked to see if the booster was working & at first it seemed OK but then it appears to be leaking with a loud hissing noise coming from inside the cabin. Not very good but I am going to leave it for the moment. Refitted front dash section. All slow going as finding the right screws and lining it all up takes time. Also fitted air demister hoses, front kick panel & front pillar trims.
                I started to refit the rear window frames only to find that they are different to the ones I had cleaned & painted. The vertical piece on the door frame doesn’t have the facility for seat belts & luckily I had brought two old panels back & they are the ones suitable to this model. (I subsequently found out that the 1969 model had a narrower door frame to the later models & this prevents the seat belt anchorage bolt being fitted.) Completed the LH window frame, back parcel tray fittings & LH back side trim. Getting there but slowly.

24/2/11     I re-glued some corners of the roof lining. Redid the LH window trim as it is different to where the clips are & had to drill another hole. Installed LH door rubber & one side is starting to look good. I think the master cylinder is leaking. Will have to investigate a bit more & the booster is still causing a problem.

25/2/11     I fitted the interior panels on RHS. The front kick panel was a real problem due to the new fuse panel. I actually had to remove it to fit the panel. (Again, that fuse panel has caused me more grief!)Fitted RHS door rubber.
                                                                                                     
26/2/11     Made up a new set of inner window felts, removed clips from the old frames & fitted them to the new door panels. Bought two new packets of door clips for both doors but can’t fit RH side until I have the exterior mirror fitted. I spent the rest of the day fitting the locking strips to the windscreens. A really time consuming & terrible job. I could hardly move my fingers at the end of finishing the back one but they look good.                        

28/2/11     I started to put the trim back on the LH door & found that it would not lock. After fiddling around for some time I realised that the key did not fit the lock. (This key fitted everything else.) Luckily I had two spare door handles in the box of spares & the LH one did fit the key & was the correct one for the car. So the door handle had to come off & the correct handle went on but the lock mechanism is not quite right yet so I did some thing else. Put on the two sets of FORD letters & they look good. Reconnected loose wire from the back of the fuse box & car started OK. Collected mirror from Archer Glass & put that on & it looks good. Put on RH door trim, plus widow winder & door handle inserts & they look good. Put the grommets in the floor ready for the carpet but a few more are needed as the old ones are pretty damaged.
                                                                                                    
3/3/11       I removed, cleaned & oiled LH door lock & locking mechanism now working. Fitted door panel, window winder & door handle insert. Looks pretty good. Cleaned interior & fitted rubber grommets to all remaining drain holes. Cleaned carpet & attempted to fit it. I found that the front section is fine but the rear section has had a section cut out for the handbrake lever but it is the wrong place. This effectively ruins the whole back section. Cut underfelt to fit. Fitted rear window corner pieces. Fitted new ball to old gear stick so that is ready to put in. Cleaned parcel tray to see if it can be repaired & I should be able to fibreglass the back of it.
                                                                                                           
4/3/11       Repaired/fibreglassed broken rear parcel tray & cleaned a few more items e.g. ash tray.

7/3/11       I removed the brake booster (for the second time!) & took it to Salisbury for repair ($170). Not sure whether the master cylinder is leaking so I will leave it for the moment. I think it is leaking from the top plastic section where it is joined to the base section. Cut & fitted underlay for carpet. Fitted rear & front carpet but rear section needs a larger hole around handbrake as hole that was cut was not in the correct place. Fitted replacement gear lever but it pops out when you really try to tighten it. I will have to redo it with some type of nylon/plastic adhesive.


Tuesday 24 May 2011

Part 10 - More bits & pieces

10/3/11     I fitted the aluminium strips to top of both sides of front guards to cover all the weld holes & to make them a little more secure. Made a template to cover the front of the column switch area & glued black vinyl on it. Refitted & glued gear stick back into gear box using some special Selley’s plastic adhesive. Completed fitting front & rear carpets & fitted aluminium door sills.

                                                                                                           
12/3/11     Yesterday I picked up the brake booster (looks like new) & fitted it today. It wasn’t too bad a job this time as I knew how to get to the bolts right up at the top of the dash. Bolted back the master cylinder & guess what? Good brake pedal pressure, no air hissing & the engine doesn’t stall. I also put a new bush on the clutch pedal when I replaced it. Cut carpet to fit rear parcel tray area & then fitted it. It doesn’t look too bad & covers the rear area of the tray that has broken off. Tried to get windscreen wiper fittings on but the LH spindle doesn’t seem to want to go right through. I sprayed heaps of WD40 & will give it a bit more encouragement next time. I also need to get two rubber washers to fit around the bonnet holes.

14/3/11     Cleaned & painted air cleaner & four wheel rims. I visited Salisbury Wreckers mainly to get seat belts but belts not satisfactory for the price. Bought other bits & pieces  eg. chrome boot strip, washer units, door switches & horn. ($22).

16/3/11     It was a long day but pretty good progress was made. After days of trying to resolve the seat belt issue, I located two good sets (4 lap/sash & 1 lap) at the Wacol Wreckers. The whole lot cost $20 which was a good deal considering the other ones were $33 each & the cheapest new ones were $77 (with these, the total cost would have been something close to $385). Spent the afternoon, cleaning them & installing them in the car ready for the seats to be installed.

17/3/11     I fitted the rear seats & adjusted the seat belts. Bolted in both the back rest & bottom section. Next were the wipers. I finally managed to move the LH spindle right through & then fitted the rubber washers & chrome nuts to hold the external sections of the spindles. They are now all fixed & working but I still have to fit the actual wipers. Next were the washers. All the wires were connected but the stalk on the steering column resulted in no action. After another upside down sessions under the dash, I finally tracked the wires back to the fan switch. Turned the switch one way & the fan heater goes, turn the switch the other way & the washers started spraying water everywhere. Refitted the water container so that it did not keep falling off. Enlarged holes for washer units to fit through. Just need to get a few hose joiners to connect up the plastic hose. Also tracked back the horn wires but not quite sure how to connect it to the switch. Fitted horn under the bonnet to RH guard. The dash will need some labels. Fitted door switches & tried to fit black panel in front of radiator but it needs another coat of black paint before it goes on.
                                Note the different vinyl patterns on the back seat!  

18/3/11     I took the master cylinder back to Wynnum today to see if they can fix the very small leak that is on the side of the top plastic section. Also discovered that two of the serrated washers that the wipers fit on are missing. I will have to visit my friends from the Capri Club to see about these.

21/3/11     I spent a lot of time today for a few wins. I finally got the washers complete & working properly thanks to a smaller diameter hose & adjusting the jets. Then tried to get the “Kia” horn working. It worked directly off the battery but not off the wires coming from the dash. After a lot of stuffing around, I found that the lug on the back of the fuse box was loose & then fell off. I then had to source another power line as there was no way I was going to take off that fuse panel again. I eventually got it sorted with its own fuse & connected up to the button switch & it worked well. Drove to Wynnum to pick up master cylinder & refitted it.  I will need to bleed the brakes gain. Then spent some time under the dash & bonnet tidying up all the wiring & used quite a few plastic ties. I can’t seem to get the reversing lights working but I will have to check them out at the back end.

22/3/11     Another rather long frustrating day. I put in the centre console & front seat belt buckles. Took ages trying to locate the holes in the transmission tunnel. Put in the driver’s seat after having to buy some longer bolts & nuts to go through the carpets & the floor. Took ages getting in the four seat bolts.

23/3/11     Getting there! Fitted LH seat-all seats in now. Bled the brakes after refitting the master cylinder & they seem good with no leaks – touch wood. Fitted black panel at front of engine, sprayed coil black & redid the valve clearances resulting in the engine sounding a lot quieter. Tightened radiator & fitted choke connection. Next I have to work out how to fit the air cleaner & then just to a final going over.